If you’ve ever wondered how to remove window tint without damaging your glass, here’s the truth: old tint tells on itself. When it starts bubbling, fading to purple, or turning hazy at night, it’s more than just an eyesore—it affects visibility and can even attract unwanted attention during inspections.
What most people don’t realize is that tint removal becomes simple the moment you use the right technique to loosen the adhesive. With heat, steam, or ammonia, the film peels away much cleaner than you’d expect. This guide breaks down those exact methods so you can do the job safely, quickly, and with a professional-quality result.
What Should You Know Before You Remove Window Tint?
Before you grab a razor blade, it helps to understand what you’re dealing with. Window tint is a thin polyester film bonded to the glass with adhesive. Over time, UV exposure breaks the adhesive down, causing bubbles, discoloration, and peeling.
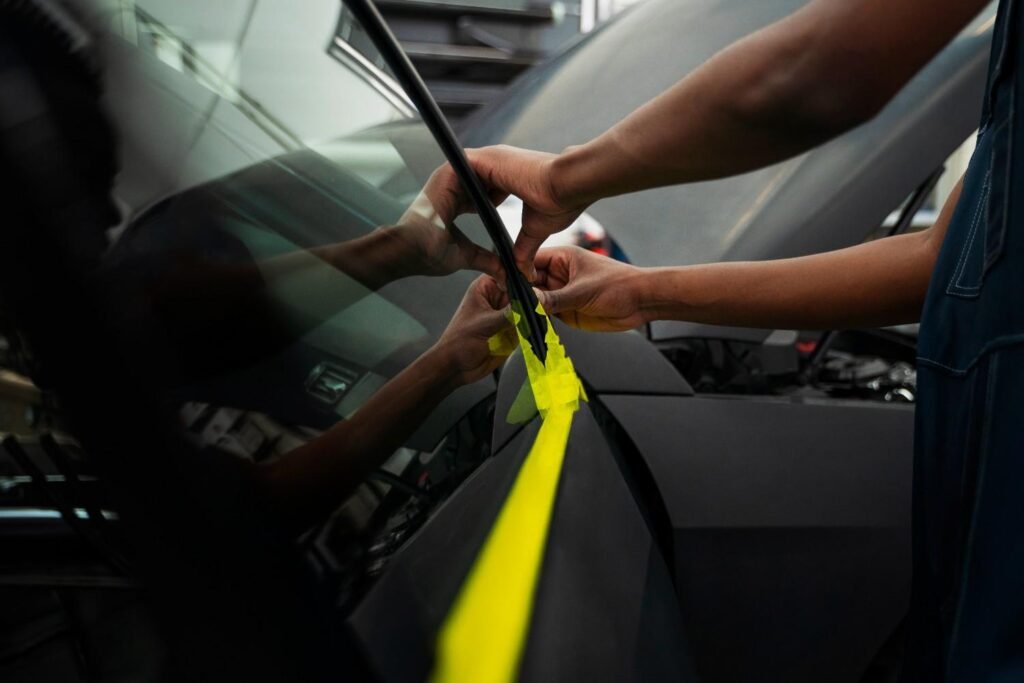
Front side windows and rear glass are often the most delicate because many rear windows have electric defroster lines printed on the glass. Scraping too aggressively over these lines can permanently damage them. That’s why most professional methods focus on softening the adhesive first with heat, steam, or chemicals so the film lifts off in larger sheets, instead of being scraped off in tiny pieces.
Also, keep ventilation in mind. If you’re using ammonia-based cleaners or adhesive removers, work in a well-ventilated area, wear gloves, and avoid breathing in the fumes.
What Tools Do You Need to Remove Window Tint at Home?
You don’t need a full detail shop setup, but a basic DIY kit makes the job smoother and safer. Most top guides recommend some version of the following:
- Heat source: fabric steamer, heat gun on low, or even a household hair dryer.
- Spray bottle with soapy water, ammonia-based window cleaner, or diluted household ammonia.
- Plastic scraper or plastic razor blades (avoid metal on defroster lines).
- Fine steel wool or non-scratch scrub pad (glass only, never on plastic).
- Microfiber towels and regular glass cleaner.
If you’re working on a rear window with defrosters, a steamer or ammonia + trash bag method is usually safer than dry scraping because it loosens the glue without as much mechanical force.
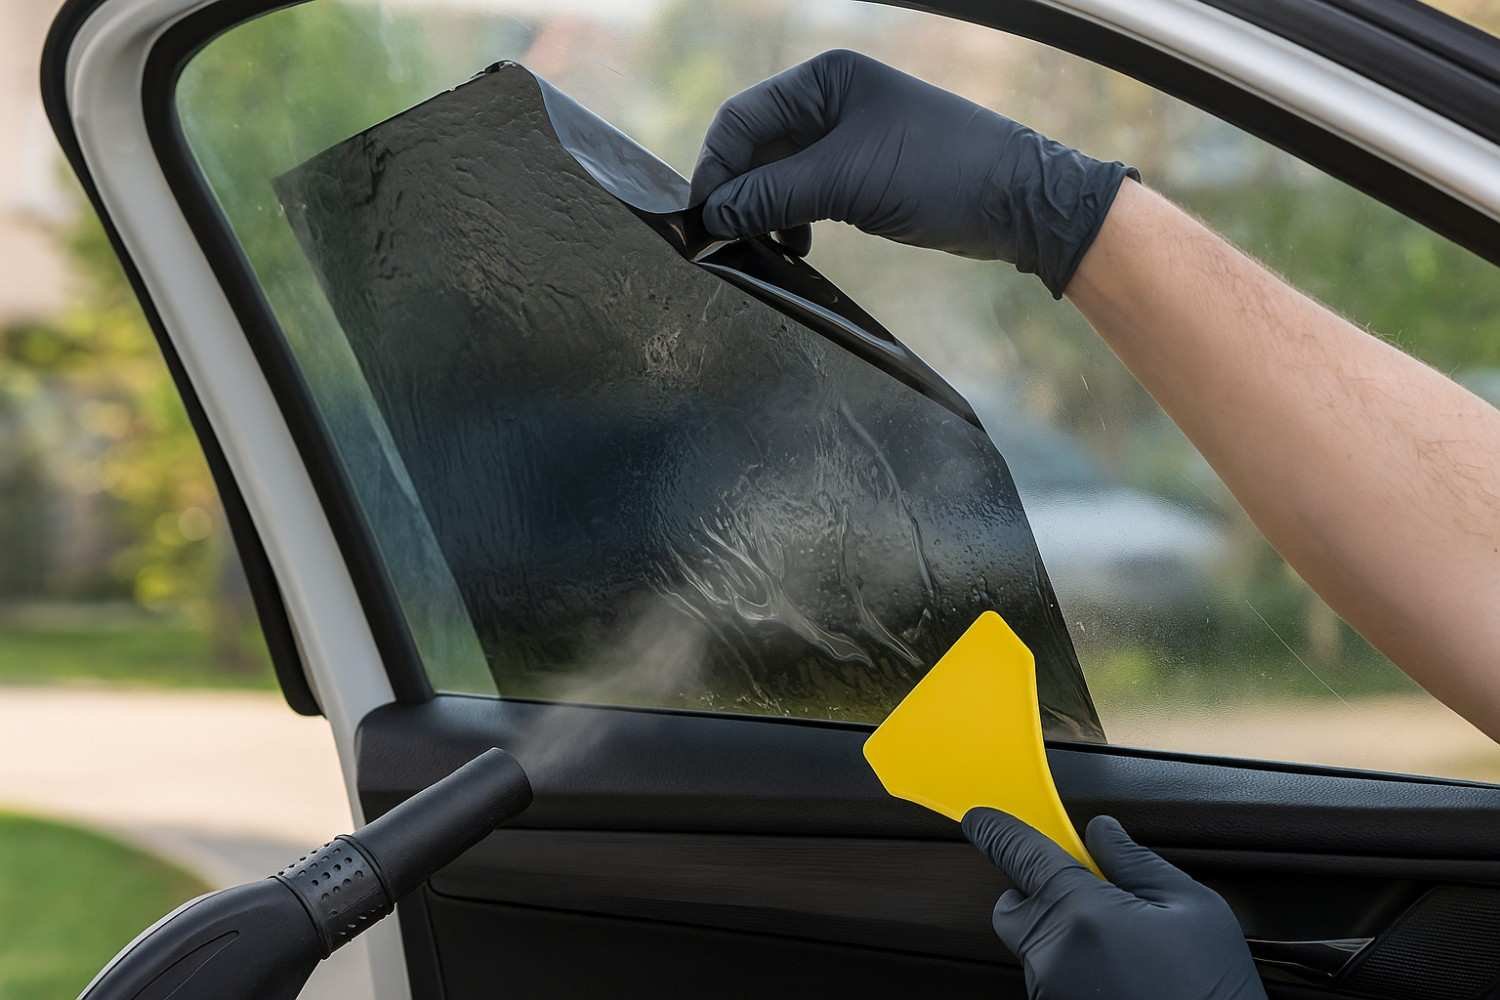
How to Remove Window Tint with Heat (Step-by-Step)
This is one of the most beginner-friendly methods when you’re learning how to remove window tint from side windows.
Step 1: Warm up the film
Turn on your steamer or set your heat gun/hair dryer to a low–medium setting. Hold it a few inches away from the inside of the glass and move it slowly over one corner of the tint. The goal is to soften the adhesive, not cook the film.
Step 2: Lift a corner of the tint
Once the film feels warm and slightly more flexible, use your fingernail or a plastic razor blade to lift a small corner. Take your time—if it tears, you’ll have more small pieces to chase later.
Step 3: Peel slowly while heating
With one hand gently pulling the film back at a low angle, keep applying heat just ahead of where you’re peeling. This helps the adhesive release in bigger sections instead of shredding. Avoid jerky motions that might pull on defroster lines or scratch the glass.
Step 4: Remove leftover pieces
If any tiny strips remain, reheat those areas and peel them off. Don’t worry about adhesive residue yet; you’ll clean that in a separate step.
How to Remove Window Tint with the Ammonia and Trash Bag Method
For rear windows or very stubborn film, many pros and tint shops use the ammonia and black trash bag method because it harnesses both chemicals and heat from the sun.
Step 1: Prep the outside of the glass
Cut a black trash bag roughly to the size of the window. Spray the outside of the glass with soapy water and press the bag onto it. The dark plastic absorbs sunlight and helps trap heat.
Step 2: Spray ammonia on the inside tint
Inside the car, spray the tinted surface generously with household ammonia or an ammonia-based cleaner. Protect interior trim with towels and keep the area ventilated or wear a mask.
Step 3: Cover with a second bag and let it sit
Press another trash bag onto the inside, over the wet tint. Park the car in direct sun for 30–60 minutes. The combo of heat and ammonia softens and breaks down the adhesive.
Step 4: Peel the film away
Remove the inner bag and gently start peeling from one corner. If the adhesive is properly softened, the tint often comes off in large sheets, minimizing the need for scraping and reducing the risk of damaging defroster lines.
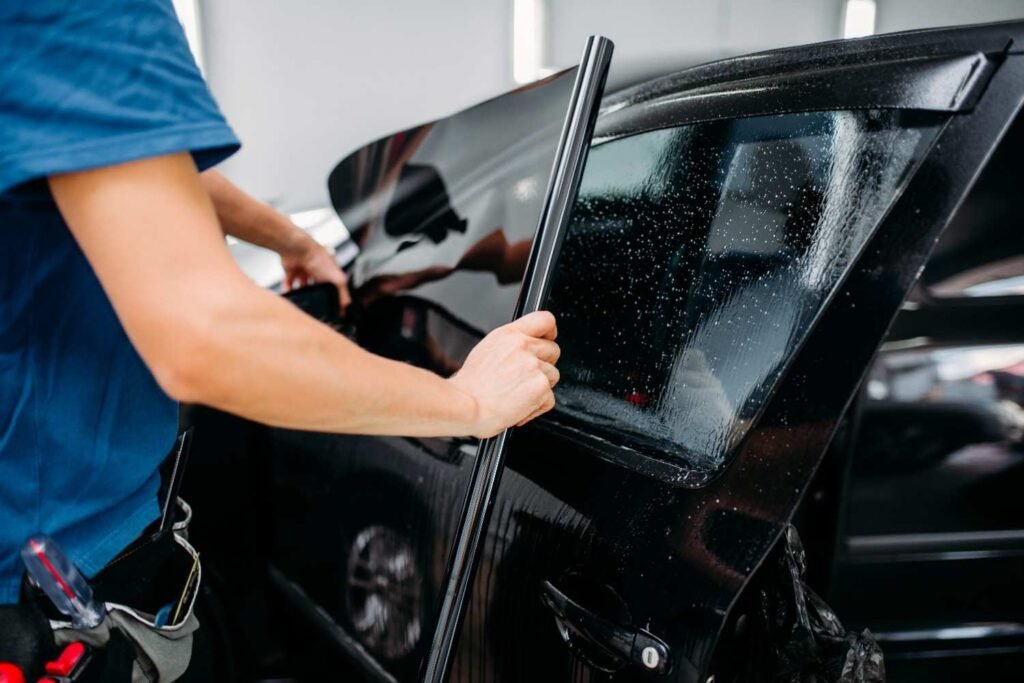
How Do You Get Window Tint Adhesive Off the Glass?
Once the film is gone, you’ll usually see a hazy, sticky layer left behind. Top tint shops recommend using solvents plus gentle scrubbing rather than heavy scraping alone.
Common options include:
- Isopropyl alcohol (rubbing alcohol) – widely recommended and safe for glass.
- Ammonia solution or ammonia-based cleaner – especially effective after the trash bag method.
- Specialized adhesive removers or citrus-based products – sold at auto parts and home improvement stores.
Spray or apply your chosen solvent, let it sit for a minute, then use a plastic scraper, fine steel wool (glass only), or a microfiber towel to work the glue off. Finish with regular glass cleaner and a clean cloth for a streak-free shine.
When Is It Better to Let a Professional Remove Window Tint?
DIY removal is doable, but it’s not always the best choice. If the tint is extremely old, bubbling in multiple layers, or you’re worried about damaging expensive rear defrosters, most experts suggest considering a professional tint shop.
Pros have commercial steamers, specialty chemicals, and years of experience. That can save you hours of work and reduce the chance of scratching glass or breaking a defroster line—which is far more expensive to repair than tint removal.
Frequently Asked Questions
1. Can you remove window tint without a heat gun?
Yes. You can use a household hair dryer, a fabric steamer, or the ammonia and trash bag method on a sunny day. All of these rely on heat and/or chemicals to soften the adhesive so the film peels off more easily. A steamer is especially popular because it delivers moist heat that penetrates the film and glue quickly.
2. How long does it take to remove window tint from a car?
For a beginner, plan on 30–60 minutes per window, depending on the size of the window and how degraded the tint is. Side windows with simple heat-and-peel might go fast, while a rear window with defroster lines and multiple tint layers can take much longer, even with the ammonia method.
3. Will removing window tint damage my defroster lines?
It can if you scrape aggressively with metal blades or pull too hard on stubborn film. That’s why most professional guides recommend using steam or the ammonia + trash bag method for rear windows, along with plastic tools and gentle peeling. Done carefully, you can usually remove tint without harming the defroster grid.
4. Can I remove factory tint from my windows?
What most people call “factory tint” is usually privacy glass—color embedded in the glass itself, not a film on top. That means there’s no film to peel off. If you don’t like factory tint, your options are to replace the glass or apply a lighter film over it, but you can’t simply remove factory tint the way you remove aftermarket film.
Final Thoughts: Is DIY Window Tint Removal Worth It?
Removing old tint isn’t just about improving how your car looks—it’s about safety, visibility, and staying compliant with local tint laws. When you take the time to soften the adhesive properly—whether through heat, ammonia, or steam—you protect your windows, your defroster lines, and your wallet.
If this is your first tint removal job, start with the simplest window to build confidence. For stubborn sections, don’t force anything—add more heat, more time, or switch methods. And if your tint is decades old or you notice multiple brittle layers, calling a professional might be the smarter investment.
Once your windows are clean and clear again, you’ll immediately notice the difference: better visibility at night, sharper glass clarity, and a much fresher look overall. If you plan to retint your car, this fresh start also ensures your new film adheres perfectly and lasts longer.
Taking the DIY route can save you serious money—and now that you know exactly how to do it safely, you’ll never be intimidated by old tint again.
Leave a Reply